
Pattern Painter is a Unity Editor tool for placing Game Objects in geometric patterns across your scene. Drag a Paint Volume over meshes and terrain, or work from a single selected Game Object. It is built for fast level-design iteration, from small props to dense prefab runs.
- Grid
- Checkerboard
- Line
- Circle
- Oval
- Triangle
- Rectangle
- Pentagon
- Hexagon
- Concentric Circles
- Radial Spokes
- more to come!
Getting Started
The basic workflow is:
- Choose a Surface Source: drag a Paint Volume over your scene, or select a single Game Object as the base surface.
- Project a pattern of Placement Points and tweak its settings to your needs.
- Instantiate a Prefab at each Placement Point.
Optionally:
- Adjust the rotation of generated Game Objects.
- Align objects to other surfaces, like terrains and other meshes.
Surface Source
Open the Pattern Painter UI via

Section 1 of the window decides which surface receives Placement Points. Choose Paint Volume or Selected GameObject to preview a source, or Off to hide every Scene view preview. Your choice is remembered from then on.
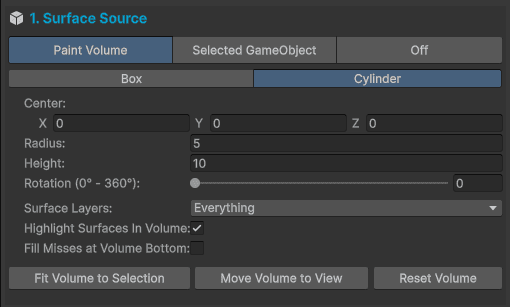
Paint Volume (default)
Drag a box or cylinder over geometry you have already built. Whatever surface lies inside it receives points, whoever owns it: several meshes at once, a terrain, or geometry you cannot re-parent. The volume is editor state: it never enters the Hierarchy, never adds a component, and never dirties a scene.
Selected GameObject
The original workflow. Select one Game Object and its combined mesh bounds define the region; the selected object or one of its children must have a Mesh. Nothing about this path has changed, so choose it if you are upgrading and want the behavior you already know.
Off
Use Off when you do not need a preview. It hides the Paint Volume wireframe, shell, surface highlight, and grips, plus prefab ghosts and placement-point spheres. It does not clear the volume, pattern, or prefab settings, so choose either source again when you are ready to continue.
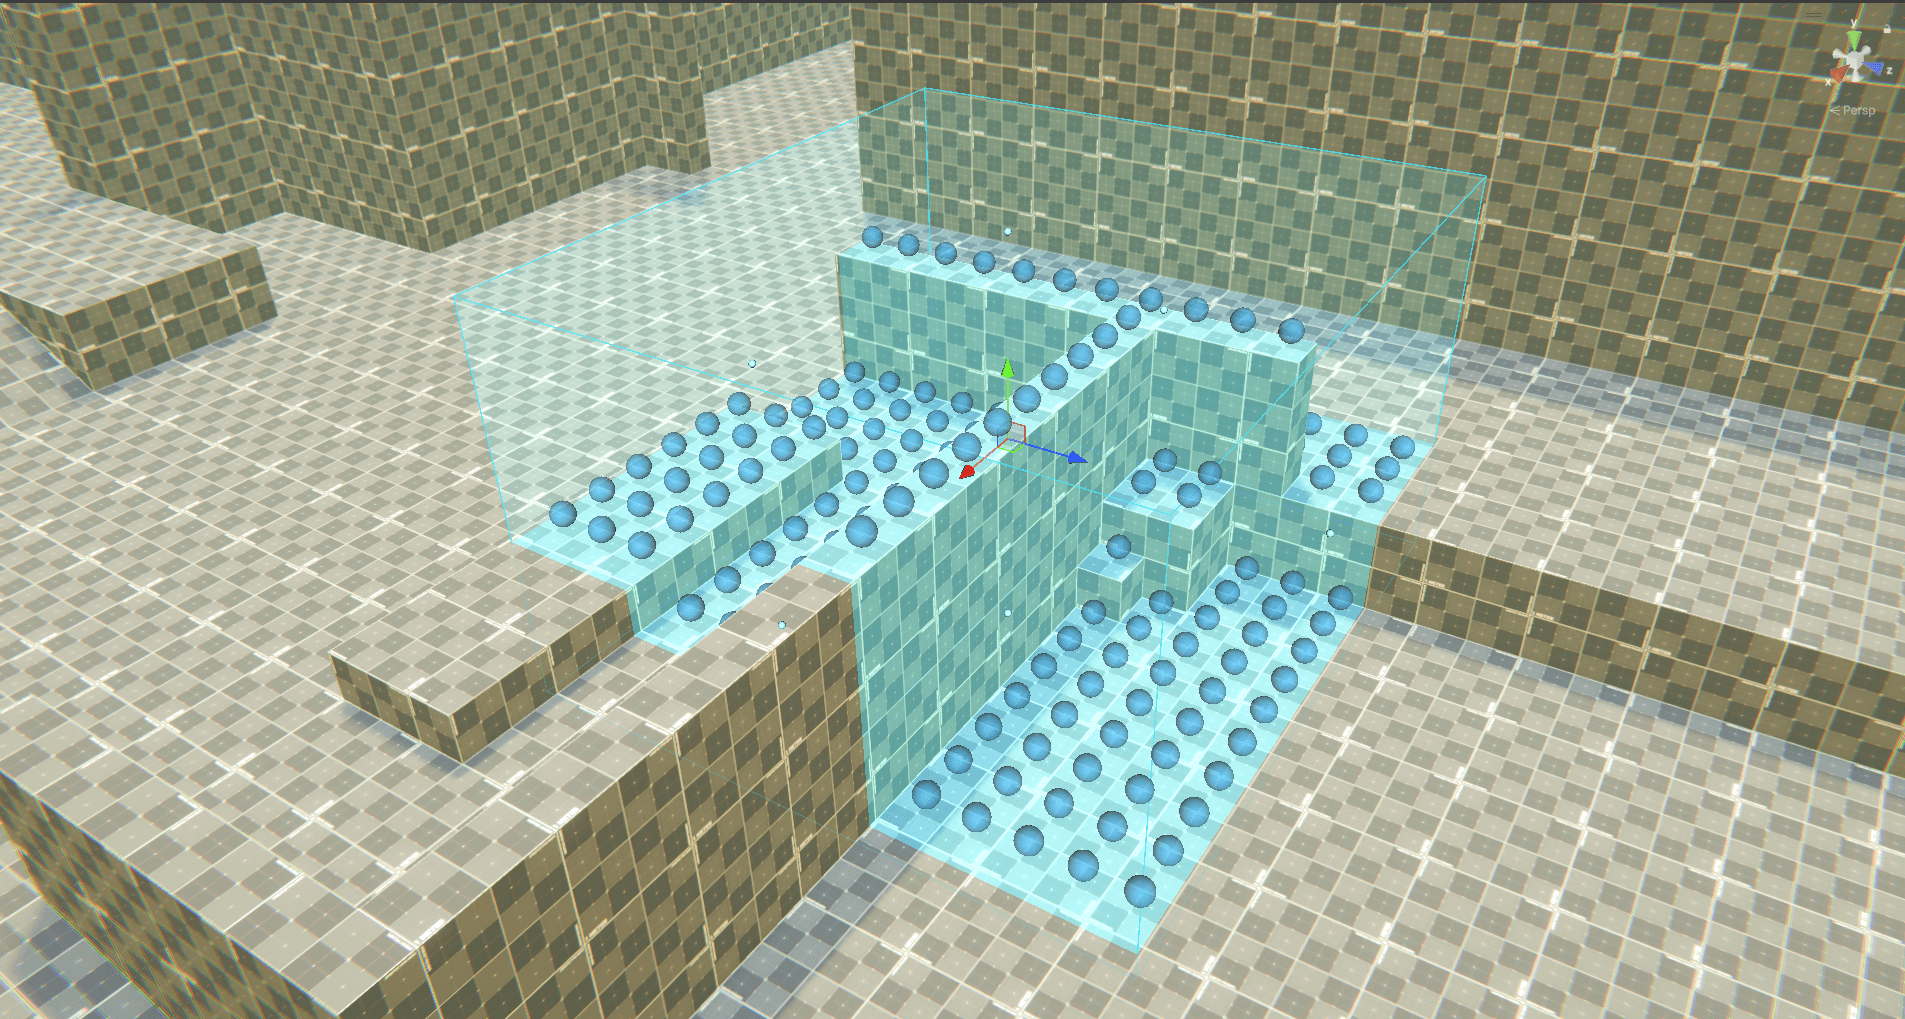
Placing a volume
Drag the grips in the Scene view, or type exact numbers into the window. Three buttons do the rest:
- Fit Volume to Selection wraps the volume around whatever you have selected. It is the bridge from the old workflow.
- Move Volume to View lands the volume on the surface under the middle of the Scene view, centered so half its height sits above that surface. It is not a recenter on the camera pivot.
- Reset Volume returns the volume to its default size and position.
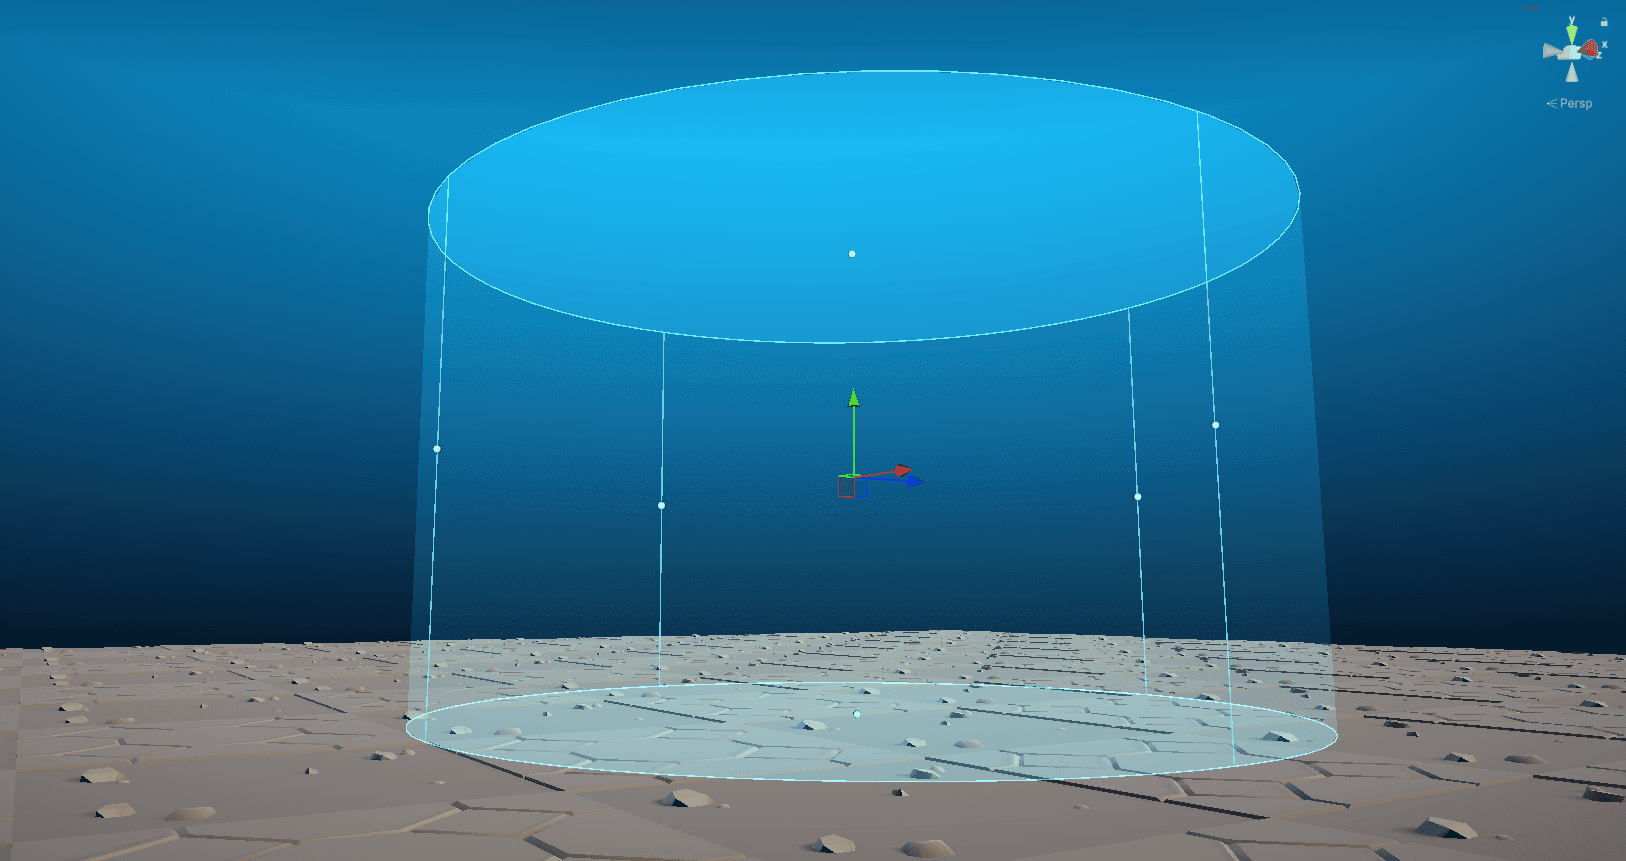
The volume is bounded at both ends
Projection starts at the volume's top face and travels exactly the volume's height. Geometry above the volume no longer occludes what is inside it, and geometry below the volume is no longer caught. This is what lets you paint one floor of a building, or the ground under a canopy.
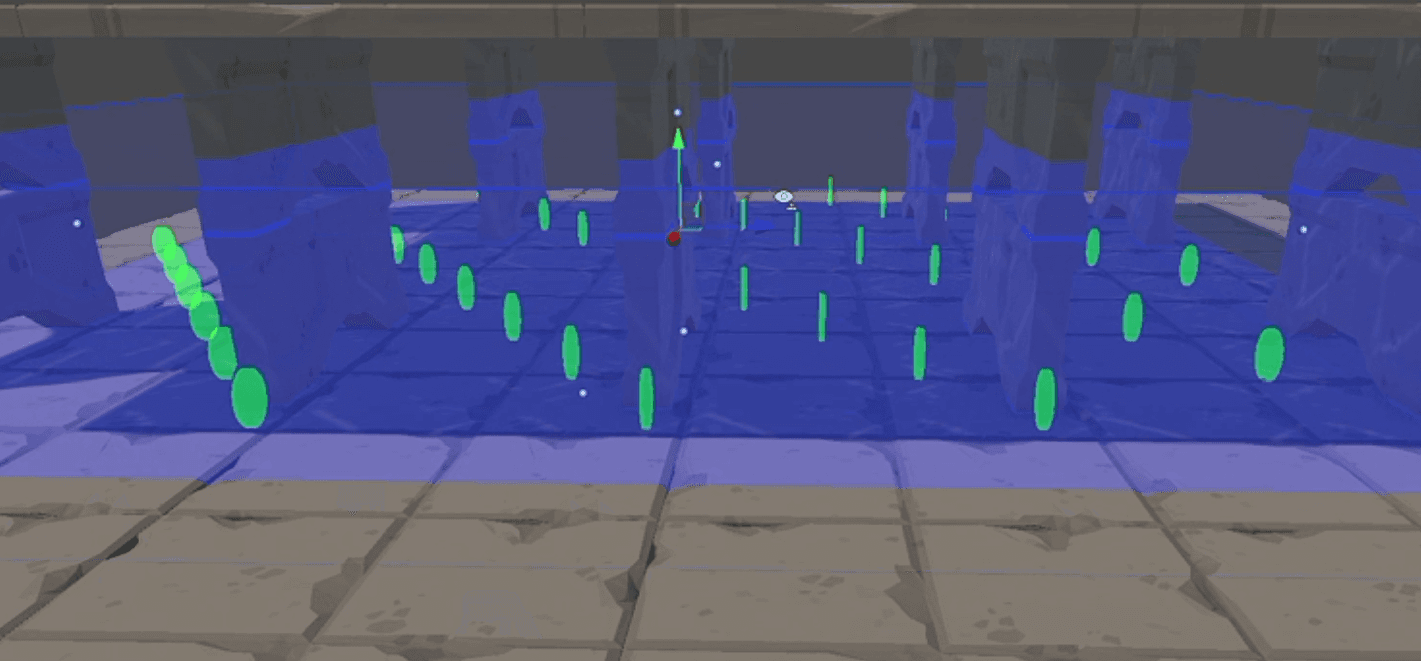
Terrain
Terrain is a first-class surface. Terrains are sampled directly, so they need no Collider and the heights are exact. A terrain that has been rotated cannot be sampled and is skipped with a message saying so. Terrain trees and detail meshes are never targets.
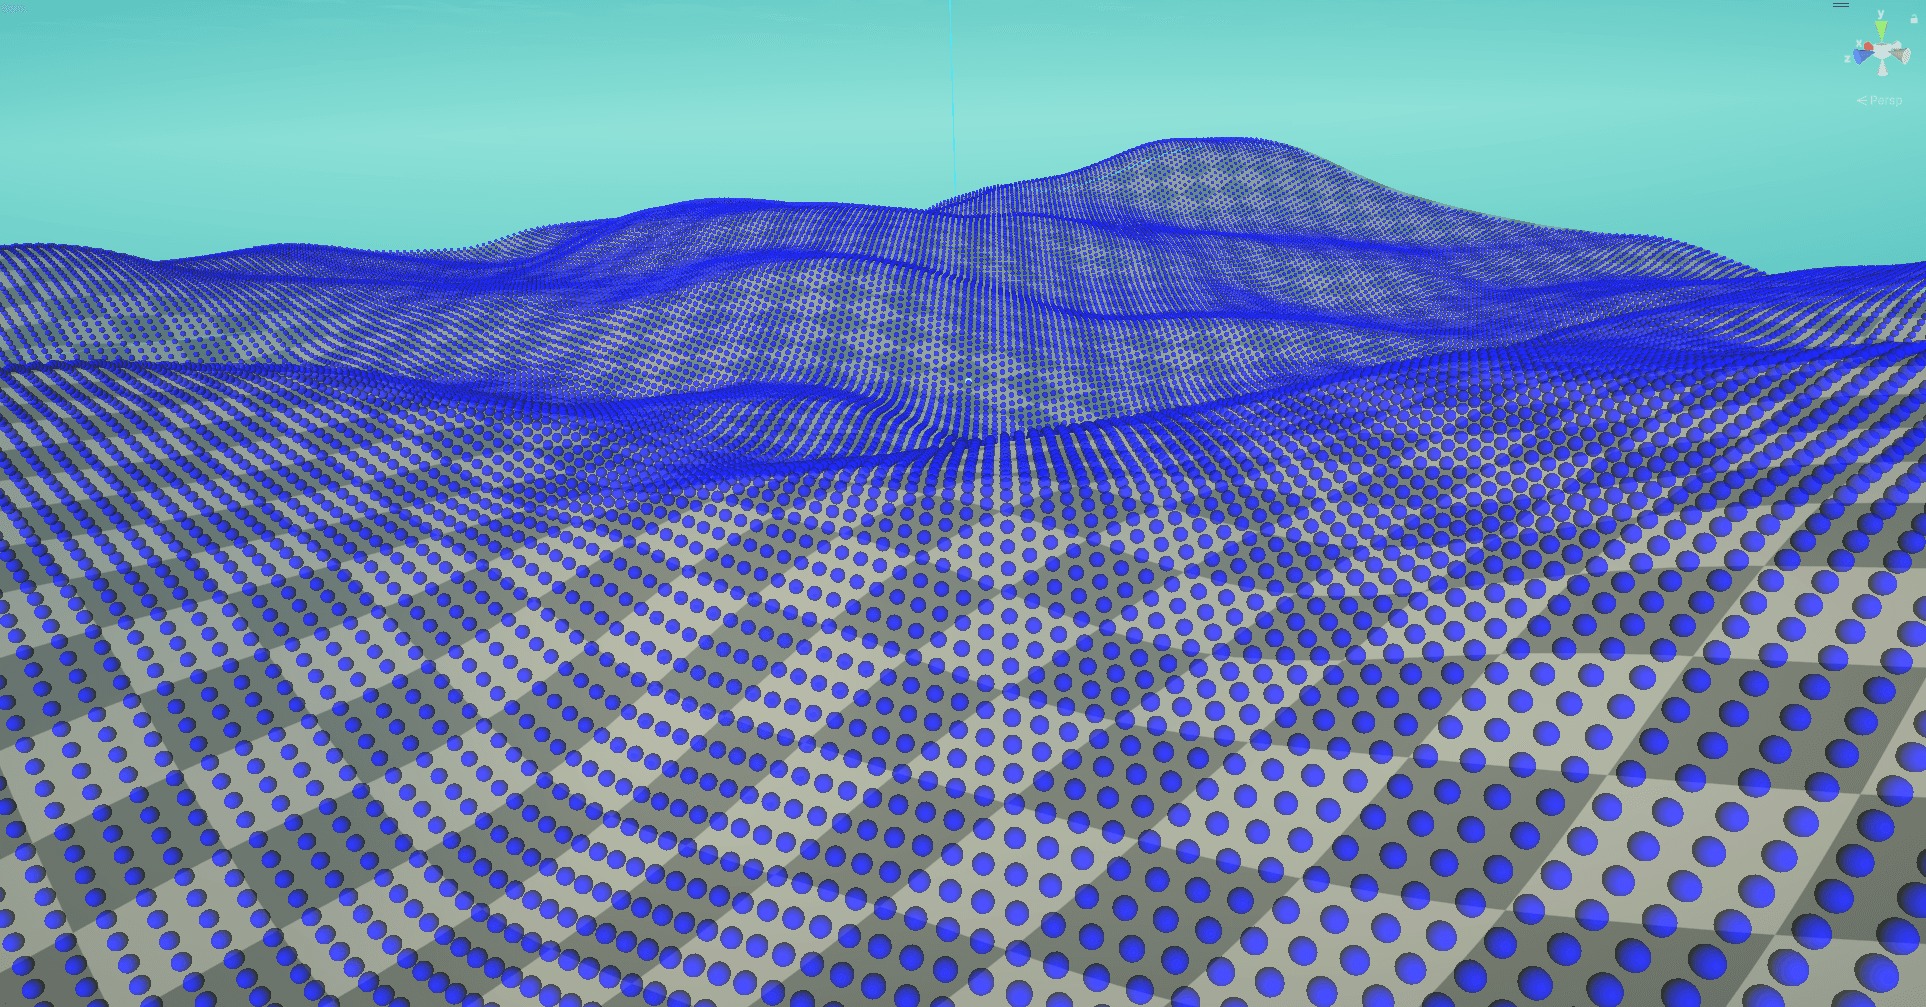
Create floors in empty space
Enable Fill Misses at Volume Bottom to create new floors, bridges, and floating platforms without a temporary base mesh. Each point still uses the nearest eligible mesh or terrain hit; only misses fall back to the volume's bottom face. The setting is off by default and never fills outside the true box or cylinder footprint.
Surface Layers
Decides which layers can receive points. Objects Pattern Painter created are always excluded, whatever this is set to, so a second run never paints on the first run's output.
Highlight Surfaces In Volume
On by default. Tints the surfaces that will receive points, so you can see what the volume has caught before pressing anything. Terrain gets its footprint draped over it instead. Turn it off on weak hardware.
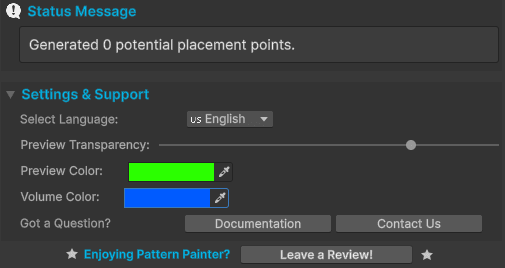
Volume Color, in Settings and Support, tints the volume's wireframe, shell, highlight, and grips independently of Preview Color. Both are saved per user, so upgrading does not reset them.
Placement Mode
Open the Pattern Painter UI via
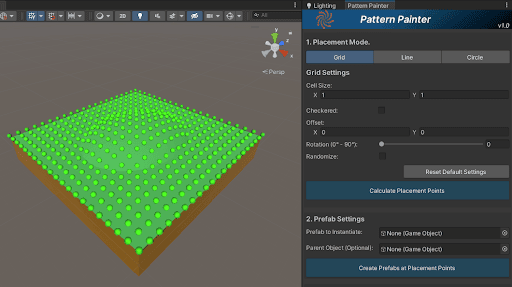
With a Surface Source set in section 1, section 2 is where you choose the pattern itself. Pick Grid, Line, or Circle, then adjust its settings.
For modular floors, assign your pieces in Prefab Settings, choose Grid, then click Adjust to Mesh under Cell Size. It copies the shared X/Z mesh footprint into the grid so a Paint Volume can fill with edge-to-edge tiles. The button is available only when every assigned prefab has matching X/Z mesh bounds; empty slots and colliders are ignored.

You will see a live preview of Placement Points (green spheres) projected onto the surface. Live preview keeps updating automatically up to 50,000 placement points.
If they don't appear:
- Move the camera closer to the object.
- Adjust pattern settings to reduce point density, or use Calculate Placement Points when you are ready for a dense pattern.
Select a pattern and click .

Prefab Settings
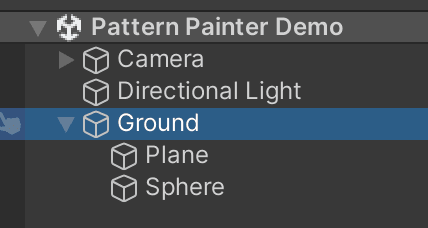
Assign one or more Prefabs in the field. The preview updates to the Prefab silhouette before you create anything.
Multiple Prefabs and Empty Slots
Use + to add prefab slots and x to remove them. Assigned Prefabs repeat in slot order across every projected point, and the ghost preview uses that same order.
Optionally, assign a Parent Object from the scene to keep prefabs organized.
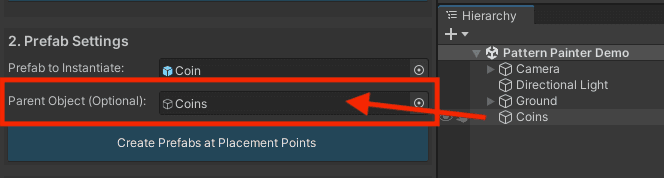
Click to generate prefabs at the Placement Points. Pattern Painter reports both the previewed point count and the created object count when it finishes.
Alignment Settings (Optional)
Adjust the rotation of generated Game Objects using the dropdown, then click .
Align to Terrain (Optional)
To align objects to another surface, such as terrain, choose a target surface below the objects. A temporary cube can still be useful when you want a separate projection source.
Then select the Alignment Layer of the terrain and click .
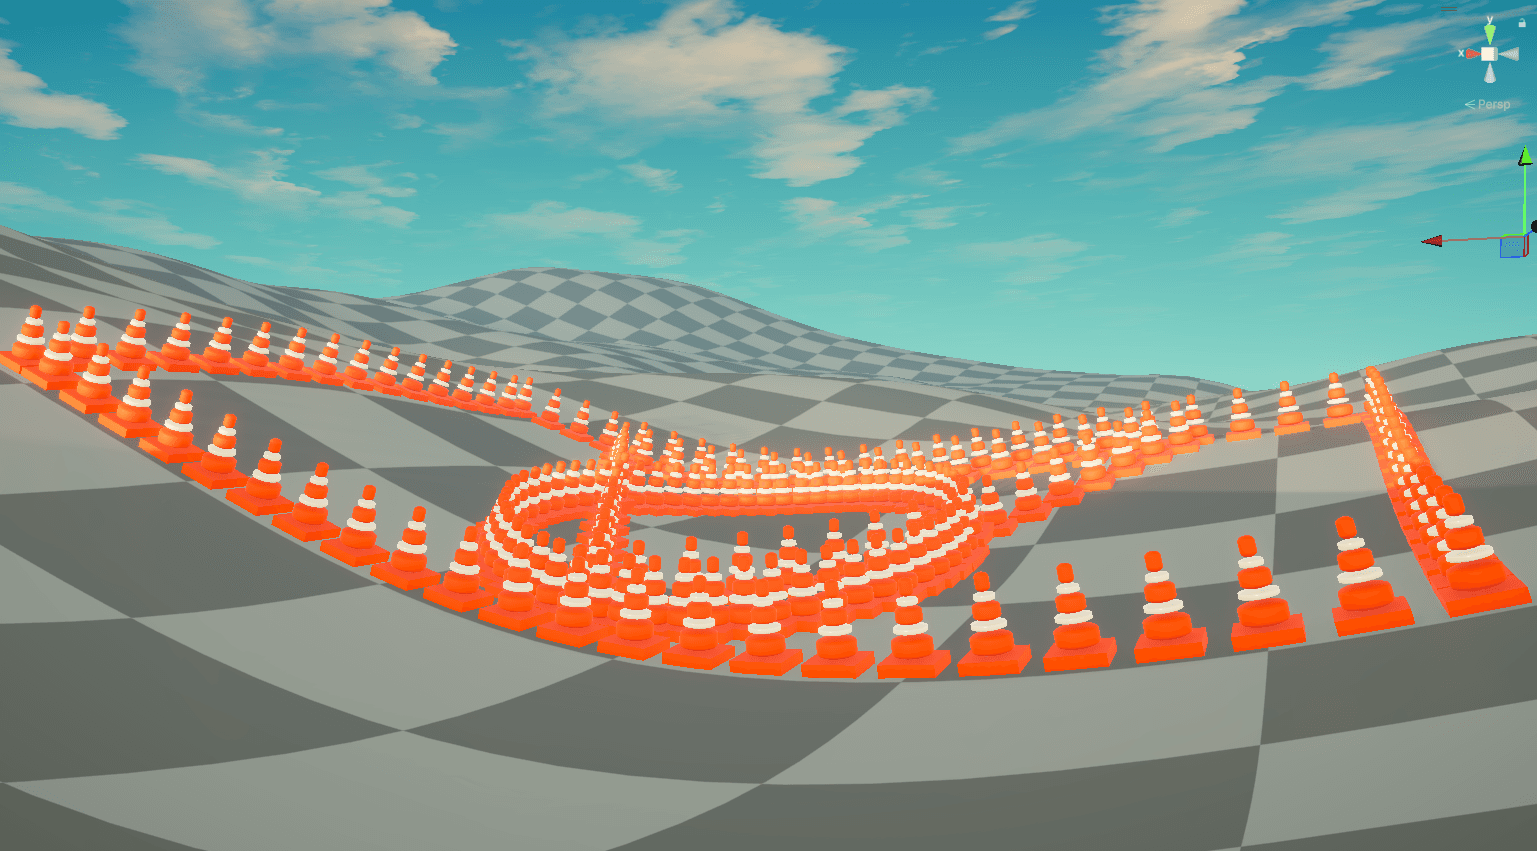
Important:
- Target surface must be on a selected, target-only Alignment Layer.
- No Collider needs adding: alignment follows the target mesh surface, borrowing a Collider temporarily where there is none, and a terrain already carries its own.
- It must be below the base surface in world-space (Y-axis).
Developer Notes
- Pattern Painter supports Undo & Redo for placement operations.

- The high-density warning appears above 50,000 points when you click Calculate Placement Points.
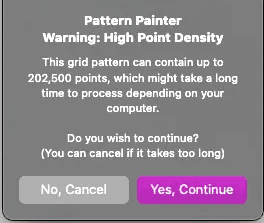
- Press
Space Barto cancel long-running generation, projection, creation, rotation, or alignment work.
- Dense patterns are dramatically faster as of 4.0.0, but baking or combining complex meshes still improves projection and alignment cost.
- Minimum point spacing is half your pattern's own spacing, capped at 0.5 units. Before 4.0.0 it was a flat 0.5, which silently discarded points from patterns finer than that.
- A Paint Volume is editor state, not a scene object. It adds no component, never enters the Hierarchy, and dirties no scene.
- In Selected GameObject mode, projection works best when the base surface has usable height in world Y. A Paint Volume supplies its own height, so this does not apply to it.
- Selected GameObject mode supports only one base surface selection at a time. A Paint Volume has no such rule: every mesh and terrain inside it is a candidate.
Known Limitations
- Designed for 3D editor workflows with world up = Y; not tested as a dedicated 2D workflow.
- Projection is straight down in both modes. A Paint Volume pushed into a vertical wall cannot place points on the wall. With Fill Misses at Volume Bottom off it produces almost nothing; with the setting on, misses land on the volume bottom. Use volumes for ground, floors, and roofs.
- Very large, terrain-scale object placement can still be expensive. Split massive scatter jobs when a dedicated terrain scatterer would be a better fit.
- In Selected GameObject mode, projection works best with mesh surfaces that have usable Y thickness; a Cube or thicker mesh is more reliable than a single thin Plane. A Paint Volume does not have this limitation, because it supplies the height itself.
- In Selected GameObject mode, only one selected root Game Object can be used as the base surface at a time; child meshes under that root are included.
- A terrain that has been rotated cannot be sampled and is skipped. Terrain trees and detail meshes are never placement targets.
Release History
Paint Volume arrives: paint onto the world you already built, instead of selecting one Game Object first. Also a large performance, alignment, and localization pass.
- New Adjust to Mesh for Grid Cell Size. Assign modular prefabs with matching X/Z mesh bounds, then size the grid in one click to fill a Paint Volume with edge-to-edge tiles. Colliders and empty prefab slots are ignored; mismatched or meshless prefabs disable the button.
- Empty prefab slots no longer show point spheres or leave holes in created patterns. Preview, creation, and rotation now cycle only through assigned prefabs.
- New Paint Volume. Drag a box or cylinder over your scene and every surface inside it receives points: several meshes at once, or a terrain. It adds no component, never enters the Hierarchy, and dirties no scene.
- The volume is bounded at both ends, so geometry above it no longer occludes and geometry below it is no longer caught. This is what lets you paint one floor of a building.
- Fill Misses at Volume Bottom creates new floors, bridges, and floating platforms without a temporary base mesh. Surface hits still win; only misses use the volume's bottom face.
- Terrain is a first-class surface, sampled directly with no Collider needed and exact heights.
- Surface Layers decides which layers can receive points, and Pattern Painter's own output is always excluded so a second run never paints on the first.
- Highlight Surfaces In Volume tints what the volume has caught before you press anything.
- Hold Alt (Option on macOS) while dragging a volume grip to resize symmetrically, the same gesture Unity's own bounds handles use.
- The volume's drag grips are larger, easier to grab, and draw through geometry, so a volume pushed into a hillside can still be resized without orbiting around it.
- Move Volume to View now lands the volume on the surface you are looking at, rather than on the Scene view's pivot, which often left it underground.
- Breaking: Unity 2021.3 is no longer supported. The minimum is now Unity 2022.3. Projects on 2021.3 should stay on 3.0.0.
- Breaking: the tool now opens in Paint Volume mode. Set Surface Source to Selected GameObject for the previous behavior; the choice is then remembered.
- Korean is now selectable in the Pattern Painter tool UI.
- Live preview now updates up to 50,000 placement points, raised from 5,000.
- Dense patterns calculate and create dramatically faster; very large prefab runs now show progress and can be canceled.
- Runs over 2,000 created objects can be grouped under a Pattern Painter Instances parent for fast single-step Undo.
- Preview Color lets you choose the tint for ghost previews and placement point handles.
- Volume Color tints the Paint Volume's wireframe, shell, highlight, and grips independently of Preview Color, which helps when a scene sits on the default cyan.
- Number Created Instances can name each created object in order when you need an easy scene count.
- Fine spacing below 0.5 units now keeps its expected points, making small props such as coins, tiles, and rivets practical.
- Align With Surface now follows mesh surfaces more reliably, no longer requires matching Colliders, and avoids aligning objects onto one another.
- Recalculate Prefabs Rotation is now undoable, and repeated Align With Surface no longer slowly rotates objects.
- The Prefab Rotation Mode dropdown no longer shows raw identifiers in English; two of its four entries read as unspaced code rather than plain English.